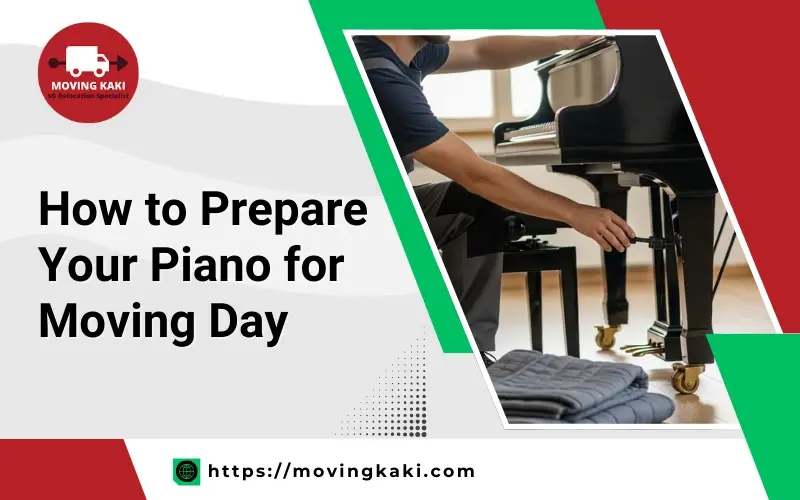
Moving a piano is not like moving ordinary furniture. Even though it’s heavy, a piano is extremely delicate, with thousands of small moving parts that can be damaged by bumps, vibration, or sudden movements. Without proper preparation, your piano’s finish, sound quality, and internal mechanism could be compromised, leading to costly repairs.
As experienced piano movers in Singapore, we’ve prepared this complete step-by-step guide to help you safely prepare your piano for moving day. These proven steps reduce the risk of damage and make the moving process safer and more organised.
Know Your Piano Type Before Preparing It
Not all pianos are the same. There are many types of pianos that need slightly different preparation.
- Upright pianos are tall and heavy, with all parts in one vertical frame.
- Baby grand and grand pianos are wider and more delicate, especially the legs and lid.
- Digital pianos are lighter but still need protection for keys and electronics.
- Acoustic pianos are very sensitive to movement, humidity, and temperature changes.
Knowing your piano type helps you prepare it the right way and avoid damage.

Step-by-Step Guide to Preparing Your Piano for Moving Day
Step 1 – Check and Record Your Piano’s Condition
Before moving day, inspect your piano carefully.
- Look for scratches, chips, loose keys, or damaged pedals
- Check the legs, corners, and front panel
- Take clear photos from all sides
These photos help document the condition of your piano. They also give you peace of mind and can be useful for insurance purposes.
Step 2 – Secure the Keyboard, Lid, and Moving Parts
Next, secure all parts that can move.
- Close and lock the keyboard lid if your piano has a lock
- Secure the top lid, especially on grand pianos
- Make sure nothing can open during the move
This step prevents keys and internal parts from shifting or breaking.
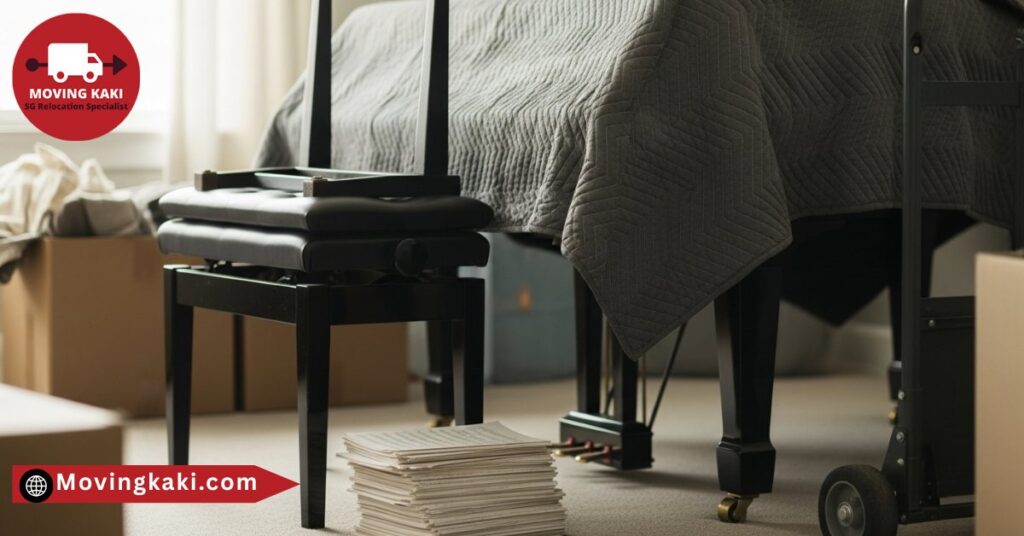
Step 3 – Remove All Loose Items and Accessories
Remove anything that is not attached to the piano.
- Sheet music, books, lamps, and decorations
- Piano bench and music stand
- Caster cups or pedal covers
Place small items in labelled bags so nothing gets lost. This makes unpacking easier later.
Step 4 – Clean the Piano Carefully
Clean the piano before wrapping it.
- Use a soft, dry cloth for light dusting
- Do not use water or strong chemicals
- Avoid spraying anything directly on the piano
Dusting removes dirt that could cause scratches during padding and wrapping.

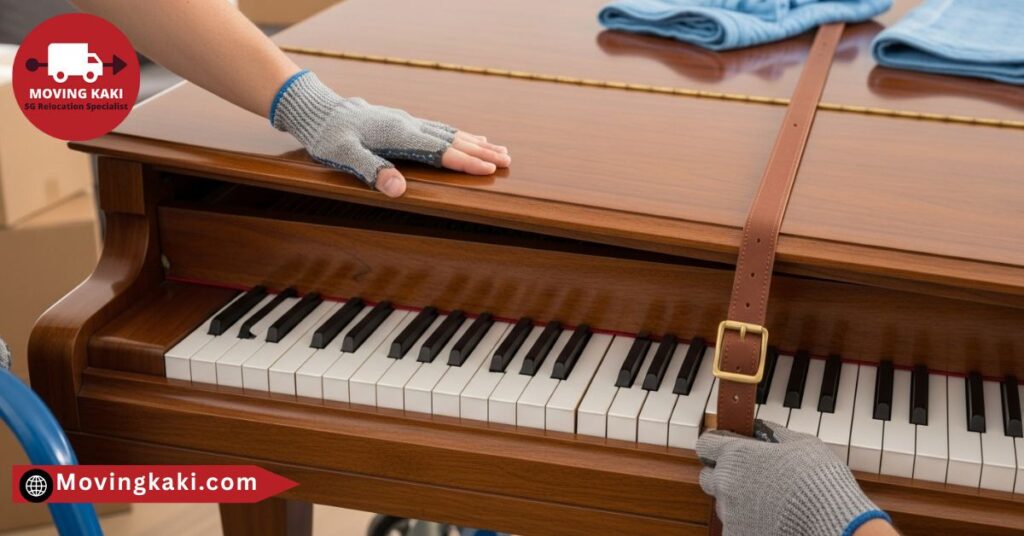
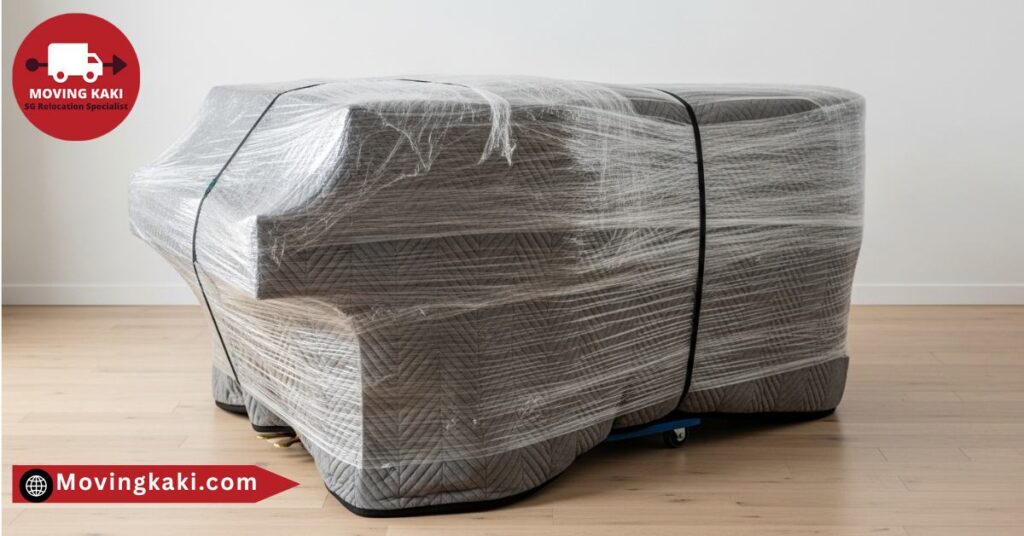
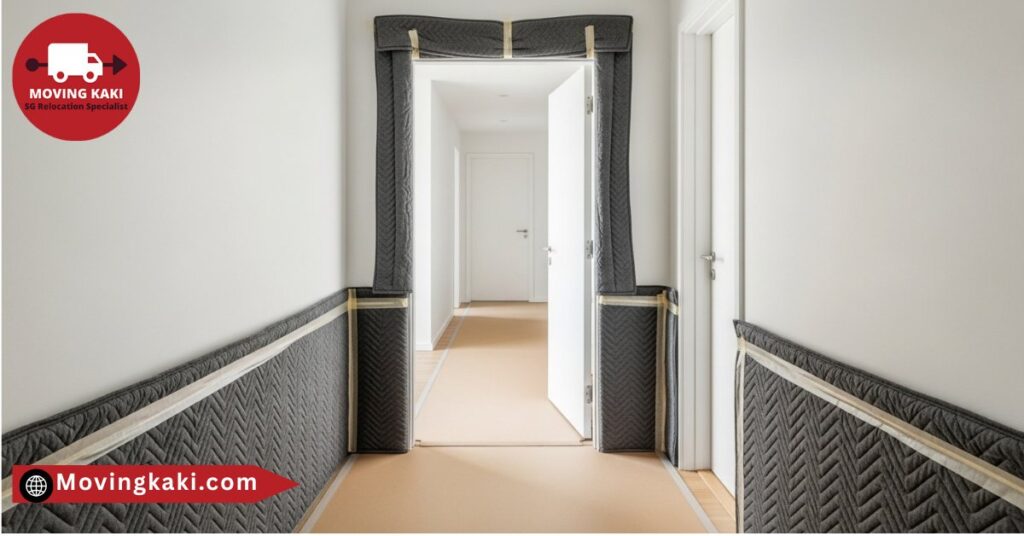
Step 5 – Protect the Piano with Proper Padding
Good padding is essential for piano protection.
- Use thick, high-quality moving blankets
- Cover corners, edges, and delicate areas
- Avoid thin household blankets or bedsheets
Proper padding protects the piano’s finish from dents, scratches, and bumps.
Essential Tips to Prepare Your Piano for Moving Day
Clear the Piano Moving Path
- Remove rugs, furniture, and small items near the piano
- Keep hallways and doorways clear
- Make enough space to move the piano safely
Measure All Areas Before Moving
- Measure doors, hallways, stairs, and lifts
- Check the piano size as well
- Measuring helps avoid problems on moving day
Protect the Piano from Climate Changes
- Keep the room temperature steady
- Keep the piano away from sunlight and windows
- Avoid heaters, air vents, and wet areas

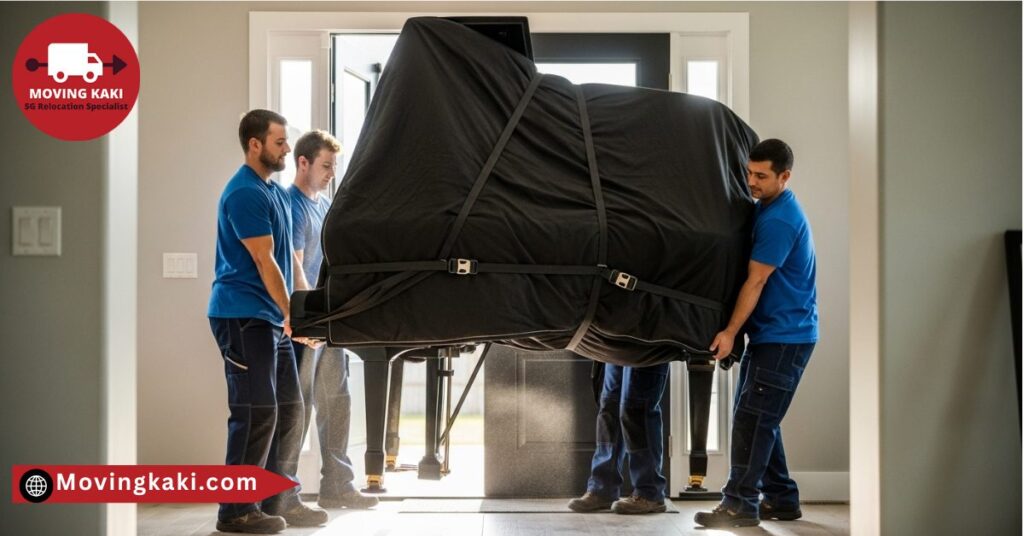
Use Proper Piano Protection
- Cover the piano with thick moving blankets
- Use plastic wrap to secure the padding
- Add corner and edge protectors
Hire Professional Piano Movers
Moving a piano requires experience, careful handling, and the right approach. Because pianos are heavy yet delicate, professional movers know how to secure, lift, and transport them safely.
They use proper equipment and proven techniques to minimise the risk of scratches, internal damage, or injury during the move. For a smooth and stress-free piano moving experience, contact Moving Kaki for professional assistance.
Conclusion
Proper preparation is key to keeping a piano safe during a move. By checking its condition, securing all moving parts, using appropriate padding, and planning the moving path carefully, you can prevent damage and make the process smoother.
Hiring experienced piano movers adds an extra layer of safety, making sure your instrument is handled with care from start to finish. With the right preparation and support, your piano can arrive in perfect condition, ready to be enjoyed in its new home.
FAQs
How early should I prepare my piano before moving day?
You should start preparing your piano at least two to three days before moving day, so you have enough time to plan carefully without rushing. This allows you to organise everything properly and avoid last-minute stress. For more complex moves, beginning a little earlier is always a safer choice.
Should I remove the piano legs before moving?
Yes, you should remove the legs of baby grand and grand pianos before moving to prevent damage and make transportation safer. This task is best handled by professional movers who have the right tools and expertise. For upright pianos, removing the legs is usually not necessary.
Do I need to wrap my piano even if the movers are careful?
Yes. Even careful movers can’t prevent all risks during a move. Wrapping your piano protects it from scratches, dents, dust, and accidental bumps while being moved or transported. Proper padding also helps protect delicate finishes and sensitive parts from vibration and pressure. For best results, use thick moving blankets and secure them tightly, or hire professional piano movers who know how to protect and handle pianos safely.
Should I empty the piano bench before moving?
Yes. Always empty the piano bench before moving. Items stored inside can shift during transport and cause damage to the bench or piano, and they add unnecessary weight. Removing everything helps prevent scratches, breakage, and makes the bench easier and safer for movers to handle.